Stampin' Up's new 2017-2018 Annual Catalog went live last week. WaHoooooo! Here's the link to the Stampin' Up Store https://www.stampinup.com/ECWeb/ and please choose me, Lynn Gauthier, as your Demonstrator.
Stampin’ Up! is also offering a great host reward to kick off the new catalog ordering! You get an extra $35 in host cash/Stampin’ Rewards for an order or party totaling $350
Promotion Details:
- Promotion dates: June 1–30.
- All orders qualify for this promotion.
- Starter Kit orders do not qualify for this promotion, however the extra Stampin’ Rewards can be used towards the purchase of the Starter Kit.
- The qualifying amount must be reached with commissionable merchandise prior to shipping and tax.
- The additional Stampin’ Rewards offered during this promotion will only be awarded once per order.
- Make sure you open and close your orders during the time frame of this promotion (June 1-30) to earn the extra Stampin’ Rewards.
- Promotion Ends: June 30, 2017 at 11:50 PM (MT).

And, FIRST-TIME subscribers enjoy three months at 25% off!
Offer Dates: May 11–June 10
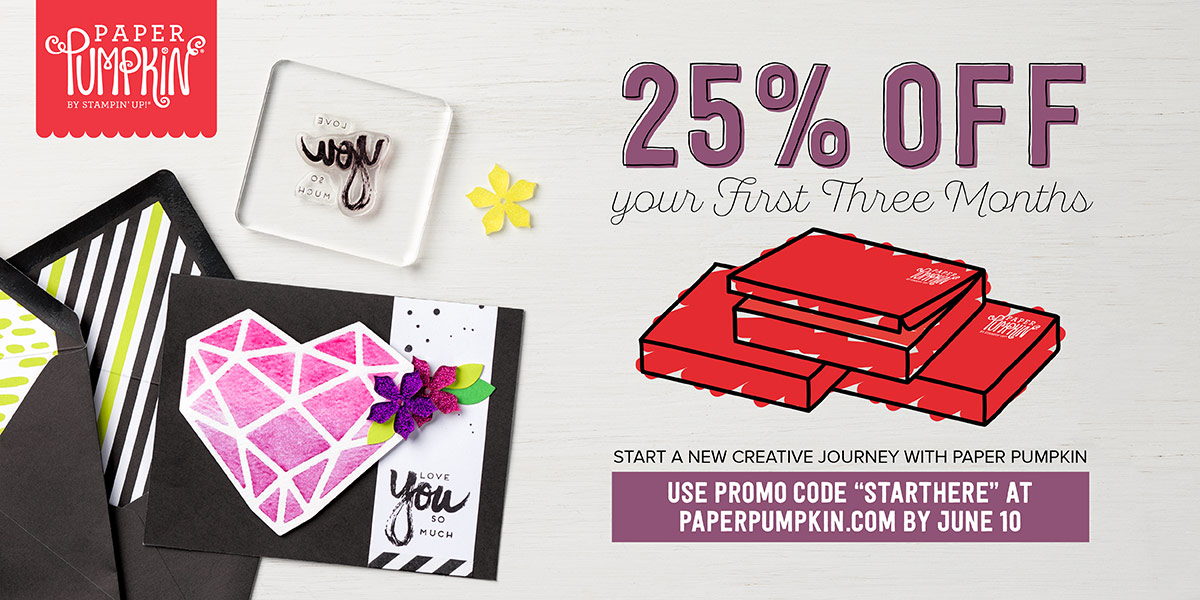
If you would like to become a Paper Pumpkin Subscriber with me, Please click on the link below to sign up.
Here
Here
My share for today is a Birthday Card that I designed using Stampin' Up's new Birthday Memories Designer Series Paper, Birthday Delivery Stamp Set, Birthday Friends Framelits Dies, (Page 69 - 2017-2018 Annual Catalog), and Layering Oval Framelits Dies.
Let's take a look:

I just ADORE Stampin' Up's new Birthday Delivery Suite. What fabulous artwork and kudo's to the Designer. You can even die cut some of the Images from the Paper using the Birthday Friends Framelits Dies. Today, I used 3 of the dies which are the Balloons, Cake and Chef that I die cut from the Presents, Hats and Balloons Designer Series Paper Pattern.
My Card Base is Whisper White Cardstock cut at 5-1/2" x 8-1/2" and scored and folded at 4-1/4".
My Card Front Panel is Pacific Point Cardstock cut at 3-3/4" x 4-3/4" and adhered on an angle to my Card Base with Mono Multi Purpose Glue.

My Second Card Front Panel is the Real Red Cake Pattern Paper from the Birthday Memories Designer Series Paper cut at 3-1/4" x 4-1/2".
I cut a length of SU's new Old Olive 3/8" Mini Chevron Ribbon about 4-1/4" long and adhered it around my Second Card Front Panel with Mono Multi Purpose Glue and Tape.
Using SU's Layering Ovals Framelits Dies, I die cut the 2" x 3" Oval Die from Old Olive Cardstock and adhered it over the Ribbon with Mono Multi Purpose Glue as shown in the picture above.

Using SU's new Birthday Friends Framelits Dies, I die cut the Cake from the Cake Pattern Paper in the new Birthday Memories DSP. I adhered the Cake to my Second Card Front Panel with Stampin' Dimensionals.
I tied another piece of the Old Olive Ribbon into a knot and adhered it under the Cake with Mono Multi Purpose Glue.
I used my Wink of Stella Brush to brush on some glittery shine to the Candle Flames and all the Frosting.

Isn't my Chef just way too cute!!! So handsome!!!
Using SU's Birthday Delivery Stamp Set, I stamped the Chef onto Shimmery White Cardstock and die cut him out using the Birthday Friends Framelits Dies.
Using my Aqua Painter Brush, I water colored the Chef's Hair and Mustache with Basic Black Ink, his Face and Hands with Powder Pink Ink, his Bandana with Real Red Ink and his Frosting Decorator with Basic Gray Ink. I adhered the Chef to my Card with Stampin' Dimensionals as shown in the picture above.

Using SU's new Birthday Friends Framelits Dies, I die cut two Balloons from the Balloons, Party Hats and Presents Pattern Paper in the new Birthday Memories DSP. I cut a length of Whisper White Baker's Twine and separated the threads. I adhered the threads to the back of the balloons and to my Card with Stampin' Dimensionals. I tied the Balloon Strings into a knot and adhered the knot down with a tiny dab of Mono Multi Purpose Glue.
I adhered the my Second Card Front Panel to my Card Base with Stampin' Dimensionals.

For the inside of my Card: I die cut another Oval from Old Olive Cardstock, stamped my Sentiment in Pacific Point Ink and adhered it to the inside of my Card with Mono Multi Purpose Glue.

I fussy cut out a Cake from the Birthday Memories DSP Cake Pattern and adhered it next to my Sentiment with Mono Multi Purpose Glue.

I randomly adhered 3 Silver Sequins from SU's new Metallics Sequin Assortment to my Card with SU's Fine Tip Glue Bottle.
I just Adore SU's new Birthday Delivery Suite!!!
That's all I have for today! I hope you enjoyed my blog post and thanks for stopping by!
If you would like to become a Paper Pumpkin Subscriber with me, Please click on the link below to sign up.
Here
If you would like to visit my Pinterest Boards, Please click on the link below:
Here
PLEASE GIVE CREDIT WHERE CREDIT IS DUE!
I recently discovered that people are using my cards and/or projects, duplicating them and entering them into challenges, using them for their own card classes and (using them on their blogs as their own creations) - Please give credit where credit is due. My cards and projects are my own creations and are not to be used in challenges, blog hops, card classes or sold at craft shows; etc., for profit. I don't mind if you duplicate my creativity to pass on to family members or friends as gifts or Occasions cards; but, PLEASE be considerate of others creativity! Thank you!
No comments:
Post a Comment