Another gorgeous day in Michigan today. It's supposed to rain tomorrow so it will be a good time to stay inside and engineer some paper! =)
Today, I'll be sharing a card that I sent to my Good Friend, Stampin' Pal and Fellow Stampin' Up' Demonstrator, Kadie. She always keeps me busy with new idea's, fun paper crafting projects and always includes me in her group.
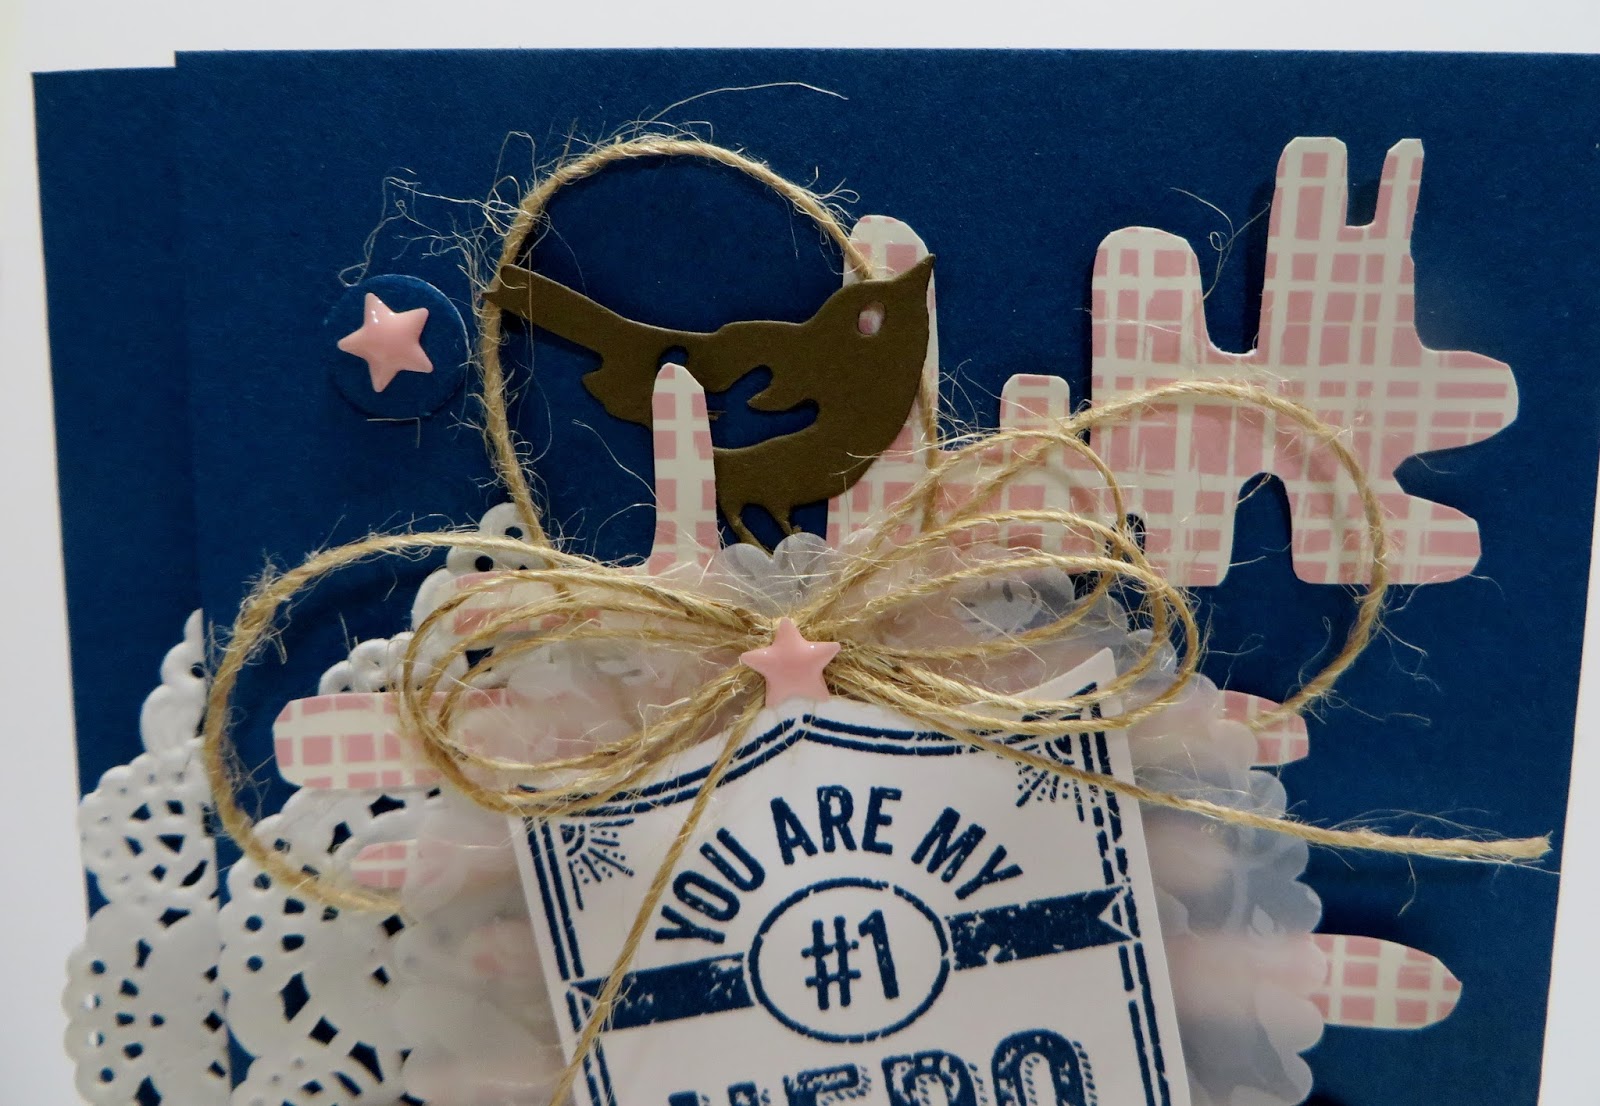
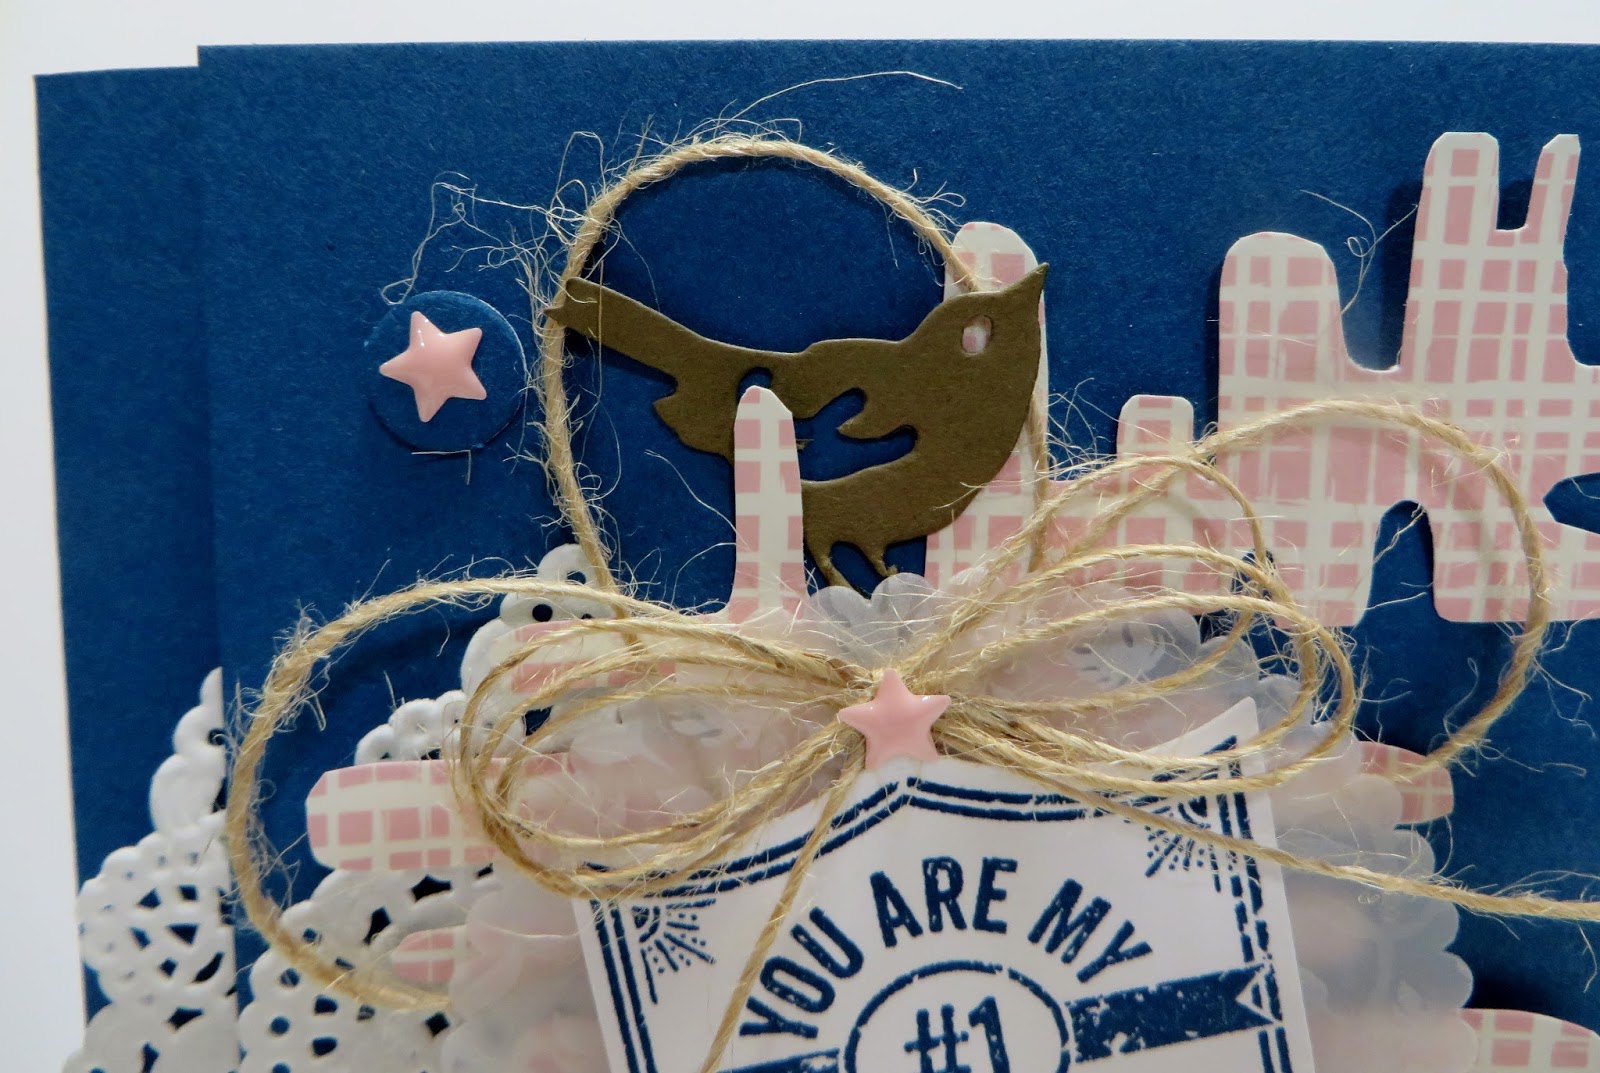
Here is the card that I made for Kadie:
I really went out-of-the-box designing this card! And, I already sent it out so I don't have all the dimensions or remember exactly how I made it.
My card base is Stampin' Up Dapper Denim cut at 5-1/2" x 8-1/2" and scored and folded at 4-1/4".
I adhered two small pieces of SU's White Tea Lace Doilies as shown in the picture above.
For my card front, I think I cut 1/2" off of the top and bottom so it would measure 5" x 3-3/4". I adhered it to the upper right hand corner using Stampin' Dimensionals.
For the layering in the center:
I adhered maybe 3/4's of a piece of SU's White Tea Lace Doily using Stampin' Dimensionals.
I hand cut a piece of SU's Playful Palette Designer Series Paper Stack using the lines in the print of the paper as my guide. Just a hand cut, free-style image. I chose pink as that is Kadie's FAVE color.
I die cut some Botanicals Designer Series Vellum (Retired) using SU's Layering Circles Framelits Dies. I don't remember which size circle die it was though. I adhered it using Mono Multi-Purpose Glue.
I stamped the My Hero stamp from SU's new My Hero Stamp Set in Dapper Denim Ink on Whisper White Cardstock. I punched it out using SU's new Best Badge Punch. I adhered it using Stampin' Dimensionals.
Using SU's new Birds & Blooms Thinlits Dies, I die cut the small bird from Chocolate Chip Cardstock and adhered it behind the layers.
I cut a long piece of SU's new 5/8" Burlap Ribbon and made 3 loops which I tucked in behind the vellum and then I tied a triple bow and adhered it just above the badge.
I adhered one of SU's new Enamel Shapes in Blushing Bride in the middle my bow.
I punched out some small circle of Dapper Denim and randomly adhered them to my card front using Mono Multi-Purpose Glue.
I adhered a Blushing Bride Star Enamel Shape to each circle.
I think it turned out to be a neat collage type card. Lot's of fun layers!
For the inside, using SU's new Layering Circle Dies, I die cut 3 circles in Whisper White Cardstock.
I used the large splatter background stamp in SU's new Touches of Texture Stamp Set and stamped off once with Dapper Denim Ink and then stamped again without re-inking onto each circle.
And, of course, I signed it before taking a picture.
And, double of course, Boris put his paw print on it too towards the bottom.
What a fun card this was to make.
That's all I have for today. Thanks for stopping by my blog.
I
recently discovered that people are using my cards and/or projects,
duplicating them and entering them into challenges and using them for their own card classes. My cards and
projects are my own creations and are not to be used in challenges, blog hops, card classes or
sold at craft shows; etc., for profit. I don't mind if you duplicate my
creativity to pass on to family members or friends as gifts or Occasions
cards; but, PLEASE be considerate of others creativity! Thank you!
If you are
interested in purchasing Stampin' Up products, you can order from me
on-line at www.stampinup.com and please choose me, Lynn Gauthier, as
your Demonstrator.
This is my first blog and it is still under construction. I have yet to receive my Watermark so the picture's
are copyright Lynn A. Gauthier, 2015-2016 Stampin' Up.
Ya' gotta' love Michigan's weather. We are going back into the 80's again. Next week, we are supposed to have some days in the 90's. Wowzers! That's going to be hot for us!
Today, I'll be sharing a card that I designed using Stampin' Up's new Flourish and Sunshine WishesThinlits Dies and SU's new Fabulous Foil Designer Acetate.
Let's take a look:
I...LOVE...Stampin' UP! LOVE, LOVE and LOVE SU's new Flourish Thinlits Dies.
My card base is Watermelon Wonder Cardstock cut at 4-1/4" x 11" and scored and folded at 5-1/2".
I trimmed out a piece of SU's Floral Boutique Designer Series Paper 1" x 5-1/2" and adhered it down the center of my card base using Mono Multi-Purpose Glue.
I'm also in LOVE with SU's new Fabulous Foil Designer Acetate Sheets. It's gold on one side and looks Silver on the other side.
Any acetate is extremely hard to photograph because of the glare. I tried really hard; but, you can still see my camera in the top of the acetate. Sorry!
Anyways, I die cut the long strip die from Night of Navy Cardstock and adhered it over the 1" strip of DSP using Mono Multi-Purpose Glue.
I adhered one of SU's Gold Metallic Foil Doilies centered on the 1" strip of DSP using Stampin' Dimensionals.
Using SU's 2-3/8" Scalloped Circle Punch twice; once with Night of Navy Cardstock and once with the Gold Acetate. I adhered the acetate to the Night of Navy piece with some strategically placed Mono Multi-Purpose Glue. Then I adhered them to the center of my card base with Stampin' Dimensionals.
I die cut the large, gorgeous flourish and some of the smaller dies in SU Night of Navy Cardstock. Beautiful!
Then, I hacked up the large flourish into smaller pieces!!! =) The smaller pieces were adhered to my card as shown in the the pictures.
I will be getting a lot of use out of these dies.
I adhered one of SU's new Gold Enamel Shapes to the center of each small flower die cut.
And, I haven't even used the coordinating stamp set yet called Flourishing Phrase. The stamp set has lots of sentiments and phrases along with the large large, a double leaf and a large flower.
There's just so much cool new products that I don't know where I want to start first.
I die cut the word hope from Sunshine Wishes Thinlits Dies 4 times and adhered them together using my Fine Tip Glue Bottle. Then, I adhered them to the center of my acetate.
This card is so much prettier in person and so much fun to make with all the flourishes.
That's all I have for today. Thanks for stopping by my blog.
I
recently discovered that people are using my cards and/or projects,
duplicating them and entering them into challenges and using them for their own card classes. My cards and
projects are my own creations and are not to be used in challenges, blog hops, card classes or
sold at craft shows; etc., for profit. I don't mind if you duplicate my
creativity to pass on to family members or friends as gifts or Occasions
cards; but, PLEASE be considerate of others creativity! Thank you!
If you are
interested in purchasing Stampin' Up products, you can order from me
on-line at www.stampinup.com and please choose me, Lynn Gauthier, as
your Demonstrator.
This is my first blog and it is still under construction. I have yet to receive my Watermark so the picture's
are copyright Lynn A. Gauthier, 2015-2016 Stampin' Up.
We have another one day reprieve from the heat and humidity today. It's only supposed to be in the low to mid 70's and is cloudy. It's a good day to open up all the windows and let that fresh air in. Feels so good to cool down for a day!
My card share for today is another card that I designed using Stampin' Up's new Sunshine Wishes Thinlits Dies, Floral Boutique Designer Series Paper, Festive Flower Builder Punch and Petal Burst Embossing Folder and a card that I forgot to put on yesterday's blog post.
Let's take a look:
Pictured above is the card that I forgot to put on yesterday's blog post. It's on the same order as the card that I posted yesterday except that I moved the butterflies with the congrats sentiment down and over the top of the hearts. Click here to see yesterday's blog post and how the card was made: http://lynnslocker.blogspot.com/2016/06/stampin-up-sunshine-wishes-card-iii.html
Now, on to today's card share:
My card base is cut from Stampin' Up's new Floral Boutique Designer Series Paper at 4-1/4" x 11" and scored and folded at 5-1/2".
I die cut the inner solid heart from SU's Watermelon Wonder Cardstock and the outer detailed heart from SU's Night of Navy Cardstock.
I die cut the flower stem from SU's Old Olive Cardstock.
I punched 2 leaves using SU's Festive Flower Builder Punch and ran them through the BIG Shot using SU's new Petal Burst Embossing Folder.
 I adhered the top tip of the flower stem to my card base using Mono-Multi Purpose Glue.
I adhered the tip of the leaves just under the flower stem and adhered them to my card base with Stampin' Dimensionals and then finished adhering the flower stem down and over the tips of the leaves. This gave the leaves some pretty neat looking dimension.
I adhered the outer detailed heart over the top tip of the flower stem using Mono-Multi Purpose Glue.
Using Stampin' Dimensionals, I adhered the inner solid heart in the center of the detailed heart.
I die cut the word congrats from SU's Gold Foil Cardstock and adhered it to my card using SU's Fine Tip Glue Bottle.
I tied a triple bow using SU's new Night of Navy Solid Bakers Twine and adhered it to the center heart using Mono-Multi Purpose Glue.
Quick and simple and LOVE!!!
Here's some other versions I designed by mixing up SU's Floral Boutique DSP and cardstock. I'll be showing off some of SU's twines, thread and new Enamel Shapes:
I tied a double bow using SU's Whisper White Thick Bakers Twine.
I adhered one of SU's new Gold Metallic Shapes (Star) to the center of my bow. They also come in Silver and there are hearts, stars and Circle shapes. LOVE!!!
I adhered the top tip of the flower stem to my card base using Mono-Multi Purpose Glue.
I adhered the tip of the leaves just under the flower stem and adhered them to my card base with Stampin' Dimensionals and then finished adhering the flower stem down and over the tips of the leaves. This gave the leaves some pretty neat looking dimension.
I adhered the outer detailed heart over the top tip of the flower stem using Mono-Multi Purpose Glue.
Using Stampin' Dimensionals, I adhered the inner solid heart in the center of the detailed heart.
I die cut the word congrats from SU's Gold Foil Cardstock and adhered it to my card using SU's Fine Tip Glue Bottle.
I tied a triple bow using SU's new Night of Navy Solid Bakers Twine and adhered it to the center heart using Mono-Multi Purpose Glue.
Quick and simple and LOVE!!!
Here's some other versions I designed by mixing up SU's Floral Boutique DSP and cardstock. I'll be showing off some of SU's twines, thread and new Enamel Shapes:
I tied a double bow using SU's Whisper White Thick Bakers Twine.
I adhered one of SU's new Gold Metallic Shapes (Star) to the center of my bow. They also come in Silver and there are hearts, stars and Circle shapes. LOVE!!!
I tied a bow by wrapping SU's Gold Metallic Thread around 2 of my fingers multiple times.
I adhered one of the Gold Heart Enamel Shapes to the center of my bow.
I tied a triple bow using SU's new Night of Navy Solid Bakers Twine and adhered it to the center heart.
I adhered one of SU's new Metallic Gold Enamel Shapes (Circle) to the center heart.
There's so much that you can do with SU's Sunshine Wishes Thinlits Dies and I haven't even played with the coordinating stamp set called Sunshine Sayings. The Sunshine Sayings Stamp Set has the perfect sentiments to go along with the die set.
That's all I have for today. Thanks for stopping by my blog.
I
recently discovered that people are using my cards and/or projects,
duplicating them and entering them into challenges and using them for their own card classes. My cards and
projects are my own creations and are not to be used in challenges, blog hops, card classes or
sold at craft shows; etc., for profit. I don't mind if you duplicate my
creativity to pass on to family members or friends as gifts or Occasions
cards; but, PLEASE be considerate of others creativity! Thank you!
If you are
interested in purchasing Stampin' Up products, you can order from me
on-line at www.stampinup.com and please choose me, Lynn Gauthier, as
your Demonstrator.
This is my first blog and it is still under construction. I have yet to receive my Watermark so the picture's
are copyright Lynn A. Gauthier, 2015-2016 Stampin' Up.