The Eastern Palace Suite Bundles went live for all Customers to order. You can order on-line from me at www.stampinup.com and please choose me, Lynn Gauthier, as your Demonstrator.
Stampin' Up's Clearance Rack has some amazing deals.
And, don't forget about the Retiring List of Products.
FIRST-TIME subscribers enjoy three months at 25% off!
Offer Dates: May 11–June 10
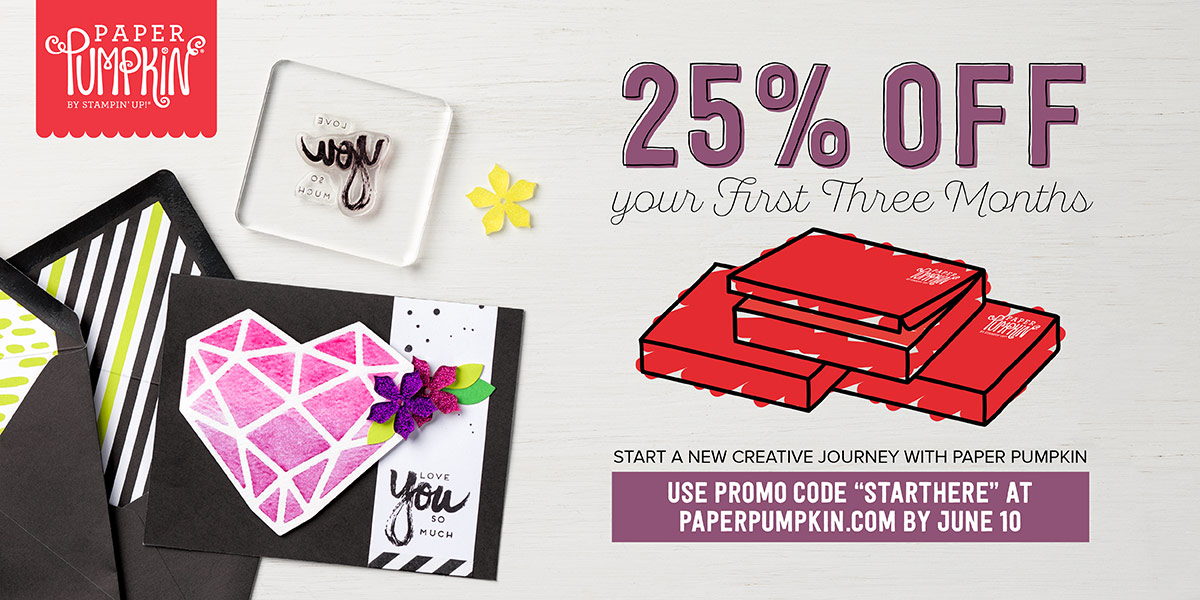
If you would like to become a Paper Pumpkin Subscriber with me, Please click on the link below to sign up.
Here
Here
My share for today is a the Mini Treat Bag made into a Mini Gusseted Treat/Gift Bag that I embellished. The Stampin' Up products that I used are the Mini Treat Bag Thinlits Die & Accessories, Layering Circle Framelits Dies, the new Pick a Pattern Designer Series Paper and a Gold Binder Clip.
Let's take a look:

SU's new Pick a Pattern Designer Series Paper is so fun. I LOVE all the Dinosaurs, Critters, Trees, Art, Mushrooms, Cameras and everything that you can fussy cut from each sheet of DSP.
I made a Mini Treat Bag with the Crushed Curry/White Polka pattern which is the reverse side of the Dinosaur pattern and is the last piece in my 3 piece ensemble.

For my examples though, I will use SU's new Berry Burst Cardstock.
Pictured above is where I scored and folded my Mini Treat Bag at 5/8" in from the two side edges and the bottom edge.

I then cut up the two side score lines at the bottom edge up to the next 5/8" score line as shown in the picture above to create flaps for the closure on the bottom of the bag.


Next, I cut open the bottom of each flap as shown in the two pictures above.

Then, I stuck my hand in the inside of the bag and pushed the sides inward for the gusset on each side, folded the bottom flat and pushed the flaps outward as shown in the picture above.

I adhered a piece of SU's Tear & Tape on each flap as shown in the picture above.

I removed the liner from the adhesive tape and folded the flaps down to form the bottom of the bag.

Pictured above is the completed bag.
Pictured above is the matching Mini Treat Bag Gusseted Gift Bag that I made for my Mini Treat Bag and Card ensemble.
To embellish my Mini Treat Bag Gusseted Gift Bag:
Using SU's Layering Circle Framelits Dies, I die cut a Large Circle from Black Cardstock.
Using the Mini Treat Bag Accessories Dies, I die cut the Banner from Emerald Envy Cardstock, the Star from Crushed Curry Cardstock and the For You die in Flirty Flamingo and Basic Black Cardstock.

I fussy cut out the 'Mammoth' from SU's new Pick a Pattern DSP and adhered him to the Star with Stampin' Dimensionals.

I adhered the Basic Black For You die cut to the Flirty Flamingo For You die cut with Mono Multi Purpose Glue. I staggered them just a little so they would match my Card. I then adhered the For You to my Banner with Stampin' Dimensionals.

I also fussy cut out the Crushed Curry Foliage and adhered it just above the 'r' in For You with Mono Multi Purpose Glue.

Pictured above is the Mini Treat Bag with my card in it that I made for my 3 piece ensemble and shared on my blog on Tuesday.

Pictured above is the Card that I made and shared on my blog yesterday. The Card goes inside the Mini Treat Bag.

Pictured above is the inside of my Card. (This Dinosaur stamp from Pieces & patterns matches the Dinosaur in the Pick a Pattern DSP.)

And then today's Mini Treat Bag Gusseted Gift Bag completes my 3 piece ensemble. So much fun!!!
I just LOVE how Stampin' Up! designed the new Pick a Pattern Designer Series Paper and the new Pieces & Patterns Stamp Set as the Stamps in the Pieces & Patterns Stamp Set match the designs in Pick a Pattern Designer Series Paper.....
The Dinosaur stamp matches the Dinosaur paper.
The Camera stamp matches the Camera paper.
The Pencil stamp matches the Art paper.
The Mushroom stamp matches the Mushroom paper.
The Flower stamp matches the Flower paper.
The Bear and Background stamps match the Animal Paper.
That's all I have for today. I hope you enjoyed my blog post and thanks for stopping by!
If you would like to become a Paper Pumpkin Subscriber with me, Please click on the link below to sign up.
Here
If you would like to visit my Pinterest Boards, Please click on the link below:
Here
PLEASE GIVE CREDIT WHERE CREDIT IS DUE!
I recently discovered that people are using my cards and/or projects, duplicating them and entering them into challenges, using them for their own card classes and (using them on their blogs as their own creations) - Please give credit where credit is due. My cards and projects are my own creations and are not to be used in challenges, blog hops, card classes or sold at craft shows; etc., for profit. I don't mind if you duplicate my creativity to pass on to family members or friends as gifts or Occasions cards; but, PLEASE be considerate of others creativity! Thank you!
No comments:
Post a Comment