The Eastern Palace Suite Bundles went live for all Customers to order. You can order on-line from me at www.stampinup.com and please choose me, Lynn Gauthier, as your Demonstrator.
Stampin' Up's Clearance Rack has some amazing deals.
And, don't forget about the Retiring List of Products.
FIRST-TIME subscribers enjoy three months at 25% off!
Offer Dates: May 11–June 10
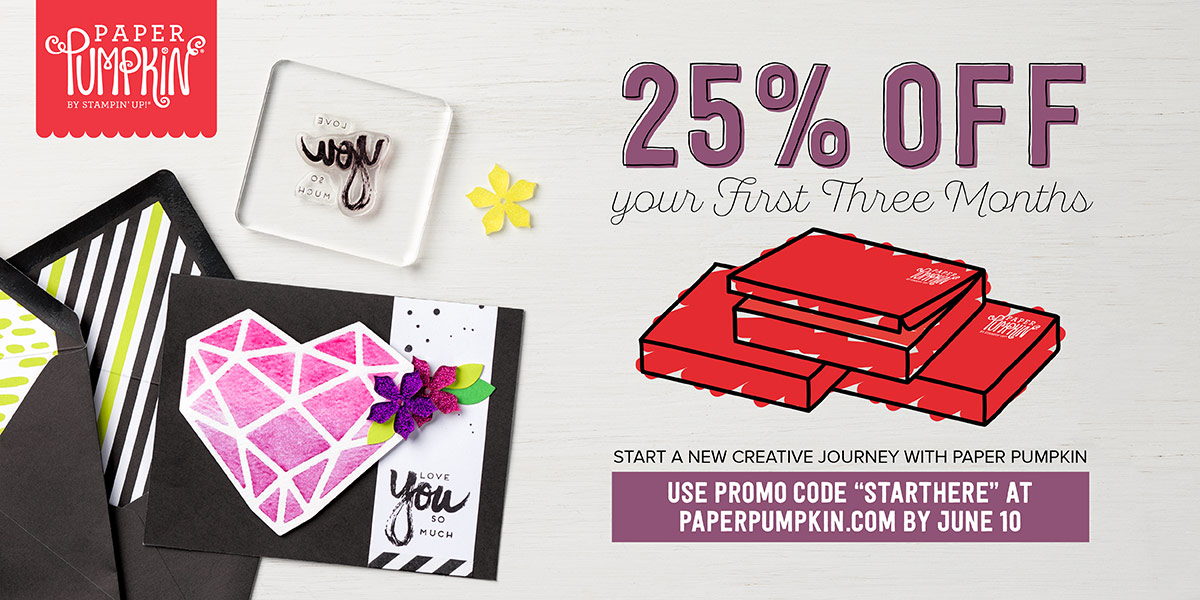
If you would like to become a Paper Pumpkin Subscriber with me, Please click on the link below to sign up.
Here
Here
My share for today is a Card that I designed to go inside the Mini Treat Bag that I showed on yesterdays blog post. The Stampin Up's products that I used are the new Happy Birthday Thinlit Die, the new Pick a Pattern Designer Series Paper, the new Pieces & Patterns Stamp Set and the new Pretty Label Punch.
Let's take a look:

Pictured above is the Mini Treat Bag that I made using SU's Mini Treat Bag Thinlits Die & Accessories and SU's new Pick a Pattern Designers Series Paper. I used one of SU's Whisper White Note Cards for my Card today and show it tucked inside the Mini Treat Bag.

And, pictured above is the Note Card that I designed to go inside the Mini Treat Bag.
I started with one of SU's Whisper White Note Cards for my Card Base.
Using SU's new Pick a Pattern Designer Series Paper, I chose the Dinosaur pattern and trimmed it out to measure 3-1/2" x 5".

Using SU's new Happy Birthday Thinlits Die, I centered the die in my DSP and die cut it out.
I trimmed out a piece of Emerald Envy Cardstock to measure about 3-1/4" x 3-3/8" and adhered it to the back side of the DSP with Mono Multi Purpose Glue around the edges only.
I die cut two more Happy Birthday dies; one from Flirty Flamingo and one from Basic Black Cardstock.
I adhered the Flirty Flamingo die cut into the opening in the DSP and then staggered and adhered the Basic Black die cut over the top of the Flirty Flamingo die cut using Mono Multi Purpose Glue. Easy Peasy!!!

I then fussy cut out the Flirty Flamingo Teradactyl from leftover scraps and adhered it over the top of the Teradactyl in the DSP with small pieces of Stampin' Dimensionals to give the Card a little dimension.

I did the same with the Crushed Curry Dinosaur and the Emerald Envy/Sahara Sand Palm Tree.
I adhered the DSP panel to the front of my Note Card.

For the inside of my Card:
Using SU's new Pieces & Patterns Stamp Set, I stamped the Dinosaur once in the right bottom corner with Basic Black Archival Ink and then 3 more times across the bottom to the left without re-inking.
I water colored my Dinosaurs very quickly and very lightly, so the paper wouldn't 'pill', with my Aqua Painter and Crushed Curry Ink. It is much easier and better to water color on SU's Shimmery White Cardstock as it doesn't 'pill'.

Using SU's new Pretty Label Punch, I punched two labels; one from Flirty Flamingo and one from Basic Black Cardstock.
Using SU's new Pieces & Patterns Stamp Set, I stamped my Sentiment in Basic Black Archival Ink and adhered the Labels as shown in the picture above.
I fussy cut out two of the Foliage Plants and another Palm Tree and adhered them to the Labels with Mono Multi Purpose Glue.
I adhered a Silver Sequin for the 'dot' above the 'j' in the word Enjoy using SU's Fine Tip Glue Bottle.

I adhered 3 more Silver Sequins around the Happy Birthday as shown in the picture above.
I just LOVE how Stampin' Up! designed the new Pick a Pattern Designer Series Paper and the new Pieces & Patterns Stamp Set as the Stamps in the Pieces & Patterns Stamp Set match the Pick a Pattern Designer Series Paper.....
The Dinosaur matches the Dinosaur paper.
The Camera matches the Camera paper.
The Pencil matches the Art paper.
The Mushroom matches the Mushroom paper.
The Flower matches the Flower paper.
The Bear and Background Stamps match the Animal Paper.
That's all I have for today. I hope you enjoyed my blog post and thanks for stopping by!
If you would like to become a Paper Pumpkin Subscriber with me, Please click on the link below to sign up.
Here
If you would like to visit my Pinterest Boards, Please click on the link below:
Here
PLEASE GIVE CREDIT WHERE CREDIT IS DUE!
I recently discovered that people are using my cards and/or projects, duplicating them and entering them into challenges, using them for their own card classes and (using them on their blogs as their own creations) - Please give credit where credit is due. My cards and projects are my own creations and are not to be used in challenges, blog hops, card classes or sold at craft shows; etc., for profit. I don't mind if you duplicate my creativity to pass on to family members or friends as gifts or Occasions cards; but, PLEASE be considerate of others creativity! Thank you!
Love this combo of projects, Lynn! That bag is adorable by itself but the card takes it over the top. That layered sentiment looks fantastic!! Those fussy cut dinosaurs really give your bag and card some depth and dimension. I have some boys who would really like these and might be giving them a try!
ReplyDelete