The new Stampin' Up 2017 Occasions Catalog goes live today and Sale-a-Bration starts today; but, Stampin' Up's systems crashed with everyone trying to get on to place orders. We know it's very frustrating and SU has their best people trying to get everything up and running again. Hopefully it won't be long.
My share for this week is 6 cards, Envelopes and another Card Box using Stampin' Up's new product from the 2017 Occasions Catalog; Sending Love Designer Series Paper Stack, Yummy in My Tummy and Sealed with Love Stamp Sets and Love Notes & Succulent Framelits Dies and Layering Circles, Stitched Shapes and Sweet & Sassy Hearts Framelits Dies from the Annual Catalog.
Let's take a look at the last two cards in the series:

If you missed the first 2 blog posts in the series or want to see them again, click on the links below:
http://lynnslocker.blogspot.com/2017/01/stampin-up-sneak-peek-2017-occasions_3.html
http://lynnslocker.blogspot.com/2017/01/stampin-up-sneak-peek-2017-occasions.html
My Card Bases are Real Red Cardstock cut at 5-1/2" x 8-1/2" and scored and folded at 4-1/4".

Using SU's new Love Notes Framelits Dies, I die cut the long Hearts Die in the front right side of my Card Base.
I trimmed out my Card Front Panels from SU's new Sending Love Designer Series Paper Stack to measure 3" x 4" and adhered it to my Card Base using Mono Multi Purpose Glue.

Using SU's new Succulent Framelits Dies, I die cut 2 of the skinny Banners from Real Red Cardstock. I adhered the ends of the 2 Banners together and to the bottom of my Card Front Panel with Mono Multi Purpose Glue for some grounding for the Happy Monster.
Using SU's new Yummy in My Tummy Stamp Set, I stamped the Happy Monster in Basic Black Archival Ink onto Blushing Bride Cardstock and fussy cut him out.

Using my Signo White Gel Pen, I colored in the Happy Monsters Horns, Teeth and Paws.
Using SU's Sealed with Love Stamp Set, I stamped my Sentiments in Basic Black Archival Inks onto Real Red Cardstock, die cut them out with SU's Layering Circles and Stitched Shapes Framelits Dies and adhered them to the Happy Monsters Tummy with Stampin' Dimensionals.
I trimmed out 2 tiny strips of Whisper White Cardstock for the Handles for the Valentines that the Happy Monster is holding. Using SU's Love Notes Framelits Dies, I die cut the small Hearts from Whisper White Cardstock. I stamped 'love' on one heart and You on the other heart. *I used my Basic Black Stampin' Write Marker to color the stamps. I adhered the Handles to the back of the Hearts and then to the Happy Monsters Paws with Mono Multi Purpose Glue.
I adhered the Happy Monster to my Card Front Panel with Stampin' Dimensionals.
I used SU's Solid Baker's Twine for my Bow and on my Card. Using my 1/16" Handheld Hole Punch, I punched 3 Holes in the upper left fold of the Card Base to slide my Baker's Twine through the Hole, around the back and up through the Hole in the top upper right die cut Heart. I adhered the 2 ends of the Baker's Twine together in the center of the front of my card with Mono Multi Purpose Glue. I tied a Bow and adhered it to the center of the Baker's Twine also using Mono Multi Purpose Glue.

For the right inside of my Card, I trimmed out a piece of SU's Whisper White Cardstock to measure 1" x 5-1/2" and adhered it with Mono Multi Purpose Glue. I did this so I had a different color (other than red on red) showing through the die cut Hearts when looking at the front of the card.

For the left inside of my Card: Using SU's Sealed with Love Stamp Set, I stamped the 3 Envelope Note Insert Stamps in Basic Black Archival Ink and stamped the small Heart over the top with Blushing Bride Ink. Using SU's Love Notes Framelits Dies, I die cut the Envelope Note Inserts out and adhered them to the Baker's Twine with SU's Mini Glue Dots.
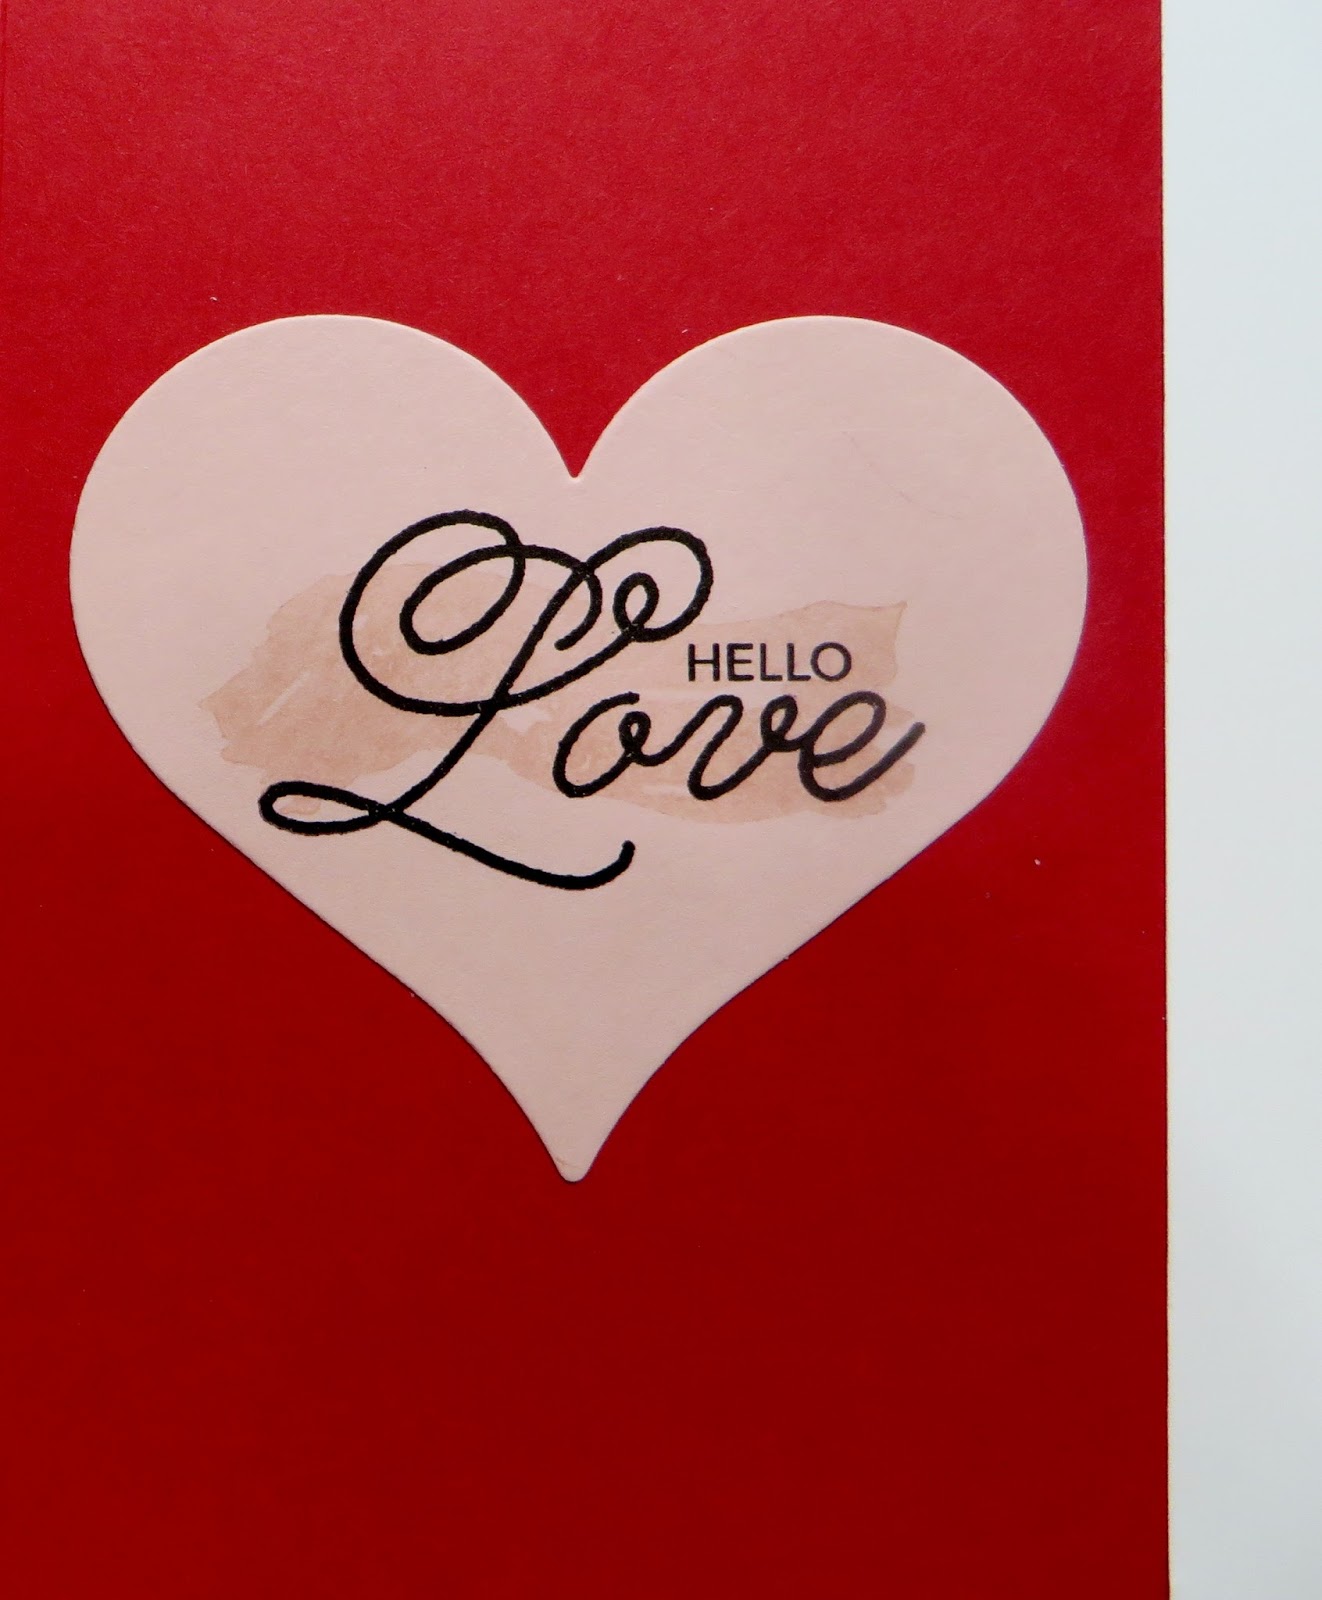
Using SU's new Sealed with Love Stamp Set, I stamped the Painters Stroke Stamp onto Blushing Bride Cardstock by stamping off once onto another piece of Cardstock (for a future project) and then onto the Cardstock for a lighter touch. I stamped my Sentiment in Basic Black Archival Ink over the top of the stamped Painters Stroke.
Using SU's Sweet & Sassy Hearts Framelits Dies, I die cut out the Sentiment and adhered it to the inside of my card with Mono Multi Purpose Glue.

I adhered 2 Blushing Bride Heart Enamel Shapes on the Sentiment on the card on the right and one Blushing Bride Circle Enamel Shape on the Sentiment in the card on the left.
I am so happy with the way my cards turned out. I LOVE making Valentines Cards and Projects. And, I'm in LOVE with the new products in SU's new 2017 Occasions Catalog.
So, get ready to order your Valentine's and other new Stampin' Up products from the new 2017 Occasions Catalog on January 4, 2017 - May 31, 2017.
And, Sale-A-Bration begins on January 4, 2017 and runs through March 31st. During
Sale-A-Bration, you get a free item of your choice from the Sale-A-Bration brochure for every $50 you spend (before shipping and tax).
That's all I have for today. Thanks for stopping by my blog!
If you would like to become a Paper Pumpkin Subscriber with me, Please click on the link below to sign up.
https://www.paperpumpkin.com/en-us/sign-up/?demoid=2124949
If you would like to visit my Pinterest Boards, Please click on the link below:
https://www.pinterest.com/dodge3670/https://www.pinterest.com/dodge3670/
If you are interested in purchasing Stampin' Up products, you can order from me on-line at www.stampinup.com and please choose me, Lynn Gauthier, as your Demonstrator.
PLEASE GIVE CREDIT WHERE CREDIT IS DUE!
I recently discovered that people are using my cards and/or projects, duplicating them and entering them into challenges, using them for their own card classes and (using them on their blogs as their own creations) - Please give credit where credit is due. My cards and projects are my own creations and are not to be used in challenges, blog hops, card classes or sold at craft shows; etc., for profit. I don't mind if you duplicate my creativity to pass on to family members or friends as gifts or Occasions cards; but, PLEASE be considerate of others creativity! Thank you!
No comments:
Post a Comment