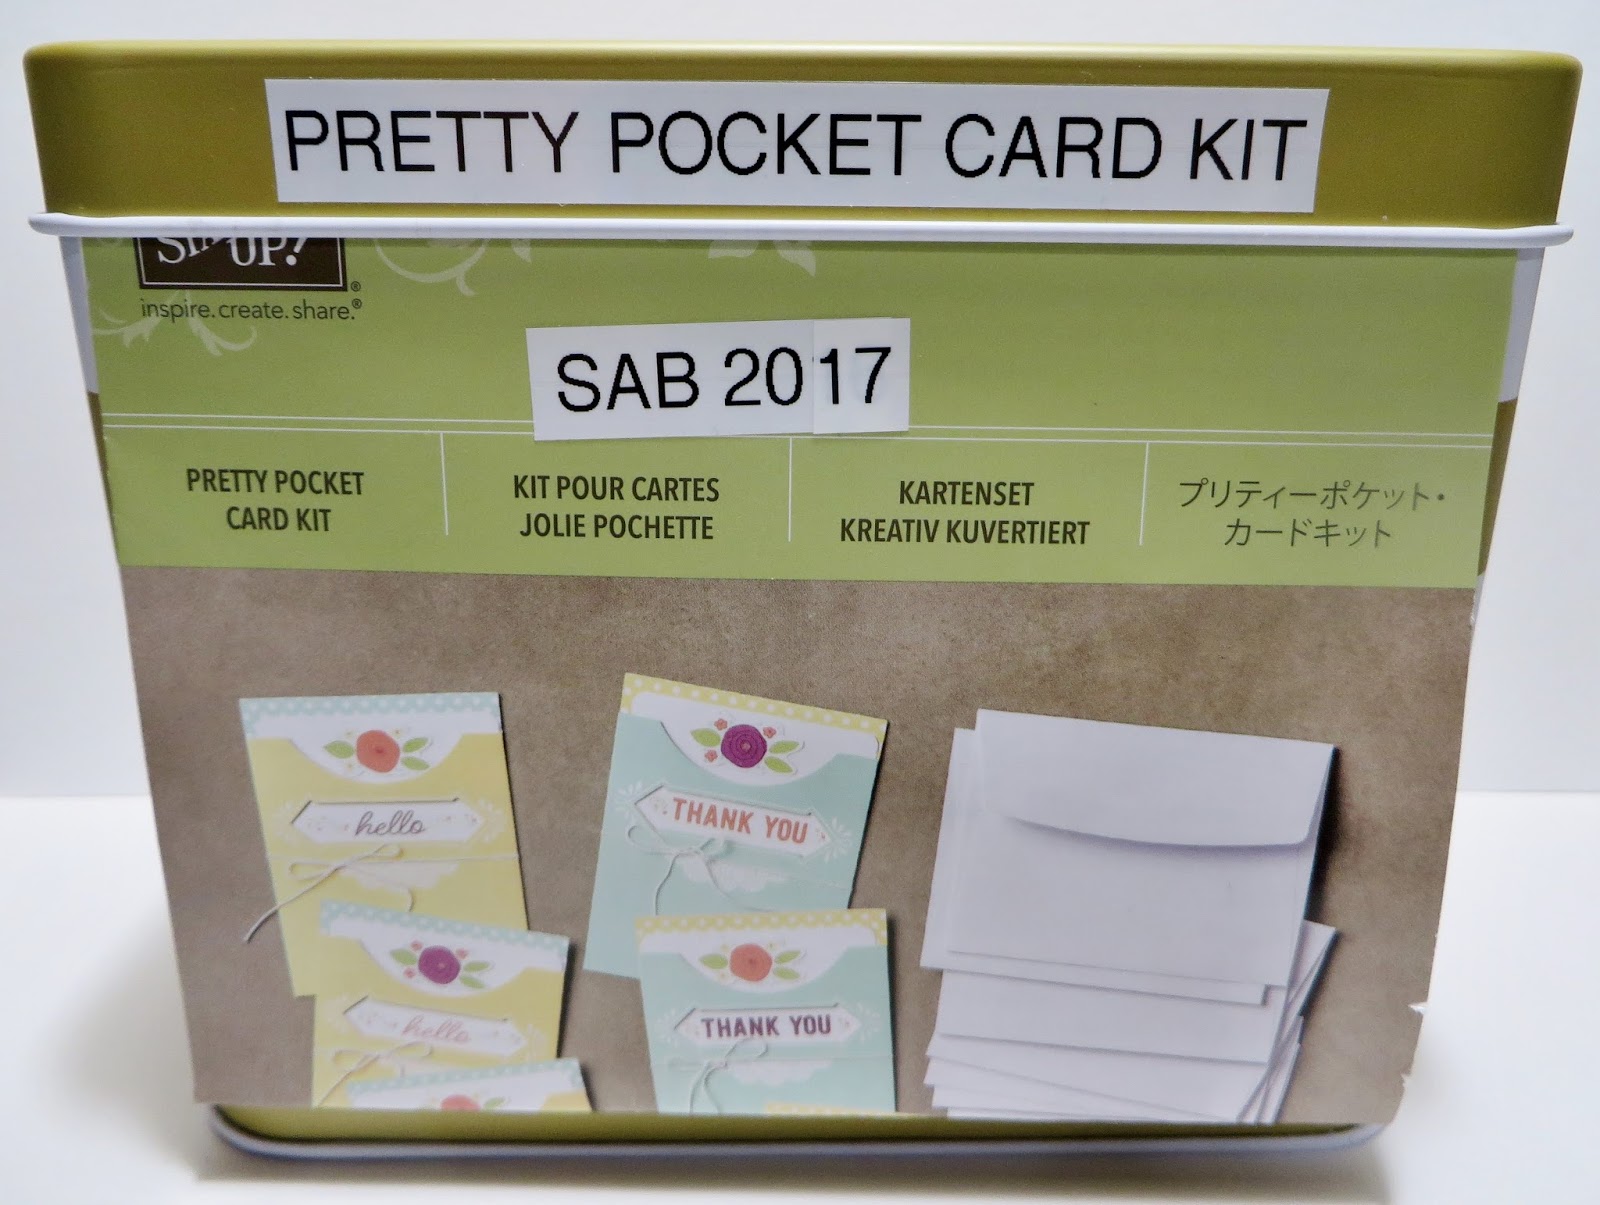
My share for today is two boxes that I designed using Stampin' Up's Pretty Pocket Card Kit, Swirly Bird Stamp Set and Swirly Scribbles Thinlits Dies. The Pretty Pocket Card Kit is one of the Sale-A-Bration items you can get from the Sale-A-Bration Brochure when you spend $50 in Stampin' Up product (before shipping and tax).
If you missed my Pretty Pocket Card Kit blog post from yesterday or want to see it again, click on the link below:
http://lynnslocker.blogspot.com/2017/01/stampin-up-pretty-pocket-card-kit-sale.html
Let's take a look:

Pictured above is the first Card Box that I designed using two of the Pocket Card Bases from Stampin' Up's Pretty Pocket Card Kit.

I took two Pocket Card Bases and cut the Back (the non-printed portion of the Card Base) of each Card in half lengthwise so that you have a piece cut off that measures 1-7/8" x 5-1/2". *Save this piece for the Bottom of the Box.
I then adhered the two Pockets Card Bases together at the sides using the adhesive that's already on the Card Bases.

I took the 1-7/8" x 5-1/2" and trimmed off 1/4" from the 1-7/8" end (so you now have a piece that measures 1-7/8" x 5-1/4"). I then scored the piece at 1/4" from each end and added Tear & Tape adhesive to each end. I removed the adhesive from each end of the 1-7/8" x 5-1/4" piece and from the two triangles on the bottom of the Card Bases. I folded the triangles inward and my score line tabs downward and inserted the 1-7/8" ends with the adhesive in-between the sides of the bottom of the box and the triangles. I hope I explained that right and that it makes sense.

I cut one of SU's White Tea Lace Doilies in half and adhered it over the pre-printed doily on the front.
Using SU's 5/8" White Satin Ribbon, I wrapped it around the Box and tied it into a pretty Bow at the top of the Tea Lace Doily.
Using SU's Swirly Bird Stamp Set, I stamped my Flower in Rich Razzleberry Ink and my Leaves in Wild Wasabi Ink and die cut them out with SU's Swirly Scribbles Thinlits Dies. I adhered the Leaves to the back of the Flower with Mono Multi Purpose Glue and to the Doily with a Stampin' Dimensional. I also fussy cut the 2 little Branches and adhered them in-between the two leaves.

I'm not the best at making rosettes; but, they sure turn out pretty! It's not easy to fold them up with these arthritic hands.
I trimmed out a piece of Pool Party Designer Series Paper at 2" x 12" and scored it every 1/2" and then flipped it over and scored it every 1/4". I then folded it accordion style, adhered the ends together and placed it in a flat circle on top of a gob hot glue on my Silicone Mat.
Using SU's Stitched Shapes Framelits Dies, I die cut out the smallest Circle from So Saffron Cardstock. I stamped a bunch of Flowers and Leaves in Calypso Coral, Rich Razzleberry, Pool Party and Wild Wasabi. I adhered the Center Flower with a Stampin' Dimensional and the rest of the Flowers and Leaves with Mono Multi Purpose Glue as shown in the picture above. I then adhered the So Saffron Piece to my Rosette with Stampin' Dimensionals and to the Card Box with Mono Multi Purpose Glue.

Using SU's Swirly Bird Stamp Set, I stamped the Flowers and Leaves on my Envelopes with So Saffron, Calypso Coral, Pool Party and Rich Razzleberry.

I'm Over-the-Moon happy with the way my Card Box turned out!!!

I think the color combination is so pretty!
Here is how I store my leftover pieces and Cards from the Kit.

These Gold and White Striped Tins are another Free Sale-A-Bration item. I just LOVE them and they're great for storage for a lot of different things.

As you can see on the inside, I have a lot more Pretty Pocket Cards that I can make. Actually, I'll be showing you some Alternate Cards that I designed on my blog tomorrow.

Bonus Day! Here's the second Box that I designed. This one is quite large so you could actually put a good size bag of candy or cookies in it. I would have shown you; but, I don't have enough candy or any cookies right now! =(

All you do is adhered two of the Pre-printed Pocket Card Bases together at the sides using the adhesive that's already on them.

Sorry that my picture turned out blurry. I have no idea why!
Anyways, you do the same as the Card Box above only you cut a piece from another Pocket Card Base that measures 4-1/8" x 4-3/4". Score 1/4" from each end of the 4-3/4" sides.
Add your Tear & Tape, Fold and insert in-between the sides and the triangles of the Bottom of the Box.

I put one of my Pretty Pocket Cards into the Box to show you how the Sentiment would show through the negative label die cutting.

I adhered the other 1/2 of the White Tea Lace Doily to the front of the Box, wrapped my Ribbon around the Box and tied it into a knot in front.
I made more Flowers, Leaves and another Rosette and adhered it under the Knot and onto the Doily with Mono Multi Purpose Glue.

Above is a picture of the inside bottom of the Box. You can always cut a 4-1/8" x 4-1/4" piece of another Pocket Card Base and adhere it to the inside bottom of your Box to make it look a little cleaner. I opted to leave it as is.

Above is a picture of the Box on an angle.

And, another picture of the front of the Box. I think my Rosette turned out pretty good! =)
Yup...I'm happy with the way both of them turned out!!!
Very fun projects!!!
That's all I have for today. Thanks for stopping by my blog!
If you would like to become a Paper Pumpkin Subscriber with me, Please click on the link below to sign up.
https://www.paperpumpkin.com/en-us/sign-up/?demoid=2124949
If you would like to visit my Pinterest Boards, Please click on the link below:
https://www.pinterest.com/dodge3670/https://www.pinterest.com/dodge3670/
If you are interested in purchasing Stampin' Up products, you can order from me on-line at www.stampinup.com and please choose me, Lynn Gauthier, as your Demonstrator.
PLEASE GIVE CREDIT WHERE CREDIT IS DUE!
I recently discovered that people are using my cards and/or projects, duplicating them and entering them into challenges, using them for their own card classes and (using them on their blogs as their own creations) - Please give credit where credit is due. My cards and projects are my own creations and are not to be used in challenges, blog hops, card classes or sold at craft shows; etc., for profit. I don't mind if you duplicate my creativity to pass on to family members or friends as gifts or Occasions cards; but, PLEASE be considerate of others creativity! Thank you!
OH MY GOSH LYNN.......From the moment I saw this FREE SAB item I knew I was going to have to create a box out of the product. THANK YOU for doing this. FABULOUS creation!!!! I'll be making one of these this weekend.
ReplyDelete