
It's not the best day for pictures as it's rainy and quite dreary outside so I apologize for the dullness.
I started out with a piece of Stampin' Up's Real Red Card Stock cut at 8 1/2"x5 1/2" and scored and folded at 4 1/4" for my card base.
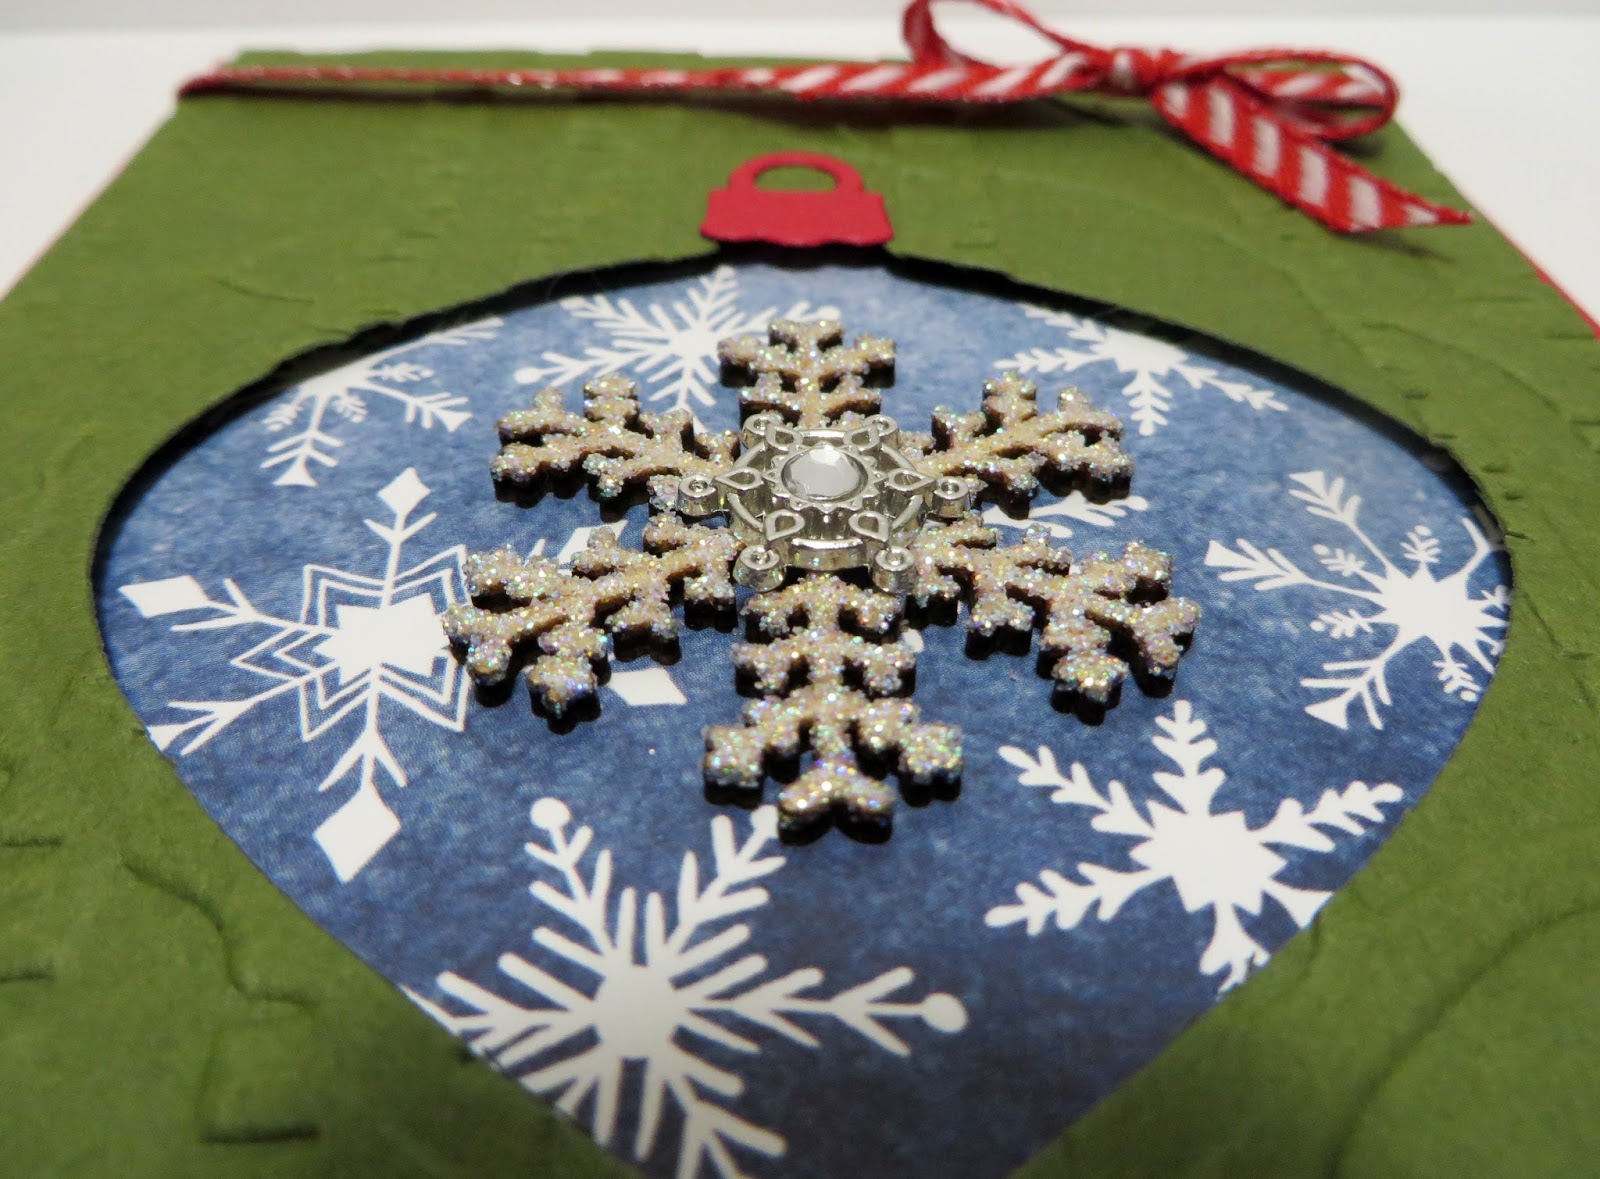
My card front panel is SU Mossy Meadow Card Stock cut at 4"x5 1/4". I then used SU's Delicate Ornament Thinlits Die to die cut the ornament in the center of the card stock. Then I used SU's Woodland Embossing Folder and run it through the Big Shot. I LOVE this Embossing Folder. Using SU's Circles Collection Dies, 7th one from center, I die cut a piece of SU's Season of Cheer Designers Series Paper and adhered it onto the card base making sure that it would cover where the ornament opening in the card front panel goes. You can always lay your card front panel on top of the card base and draw around the ornament shape with a pencil if you can't eyeball it.
I cut a 5" piece of 1/8" Striped Red and White Ribbon and adhered each end to the back of the card front panel with Multi Purpose Glue and a Stampin' Dimensional about 3/8" down from the top of the card panel front. I tied a bow from the same ribbon and adhered it with a glue dot to the ribbon on the front. Then I popped the entire card front panel up with Stampin' Dimensionals onto the card base.
I also die cut the ornament cap out of SU Real Red Card Stock and adhered that to the top of the ornament.
The word Peace is die cut using SU's Christmas Greetings Thinlits Dies with Real Red Card Stock and adhered with SU's new Fine Tip Glue Bottle on the card front panel just below the ornament shape.
I took one of SU's wooden Snowflake Elements and heat embossed it with VersaMark and Iridescent Ice embossing powder 4; yes four; times! I adhered one of SU's Iced Rhinestones to the center of the embossed wooden element with Multi Purpose glue. Using Multi Purpose glue again, I adhered the wooden element in the center of the ornament.
Here's a picture of the inside of the card:

If you are interested in purchasing Stampin' Up products, you can order from me on-line at www.stampinup.com and please choose me, Lynn Gauthier, as your Demonstrator.
This is my first blog and it is still under construction. I have yet to receive my Watermark so the picture's are copyright Lynn A. Gauthier, 2015 Stampin' Up.
The content in this blog is the sole responsibility of the site owner, an Independent Stampin' Up! Demonstrator.
How fun! I love the Embossing Folder with the ornament and the bright and shiny star makes a great focal point! The piece of DSP makes an awesome ornament.
ReplyDeleteYour directions are SPOT ON my friend. Think this is just a darling little card. THANKS for sharing with us.
ReplyDelete