Tuesday, August 29, 2017

Watercolor Christmas Project Kit, Merry Little Labels, Layering Circles, Everyday Label, Acetate Card Box

Today is pretty much the same as yesterday weather-wise.  Another good day to stay inside and play, I mean work!  =)

My share for today is one of Stampin' Up's new Acetate Card Boxes that holds 4 of the Cards and Envelopes from SU's new Watercolor Christmas Project Kit that I made and shared on my blog yesterday.  Let's take a look:


Since Stampin' Up's Watercolor Christmas Project Kit has 20 Cards, 5 each of 4 designs, I can make 5 Acetate Card Boxes with each Box containing 4 Cards and Envelopes from the Watercolor Christmas Kit.  Each Acetate Card Box can hold 5 Cards and Envelopes easily; but, I figured I would go with 4 as the Envelopes have liners and there is some height to the Cards from the use of Stampin' Dimensionals.  It worked out perfectly!

Here's a re-look at the 4 Cards I made from the Watercolor Christmas Project Kit:


I used various SU Enamel Dots and Wink of Stella from my own personal stash on my Cards.
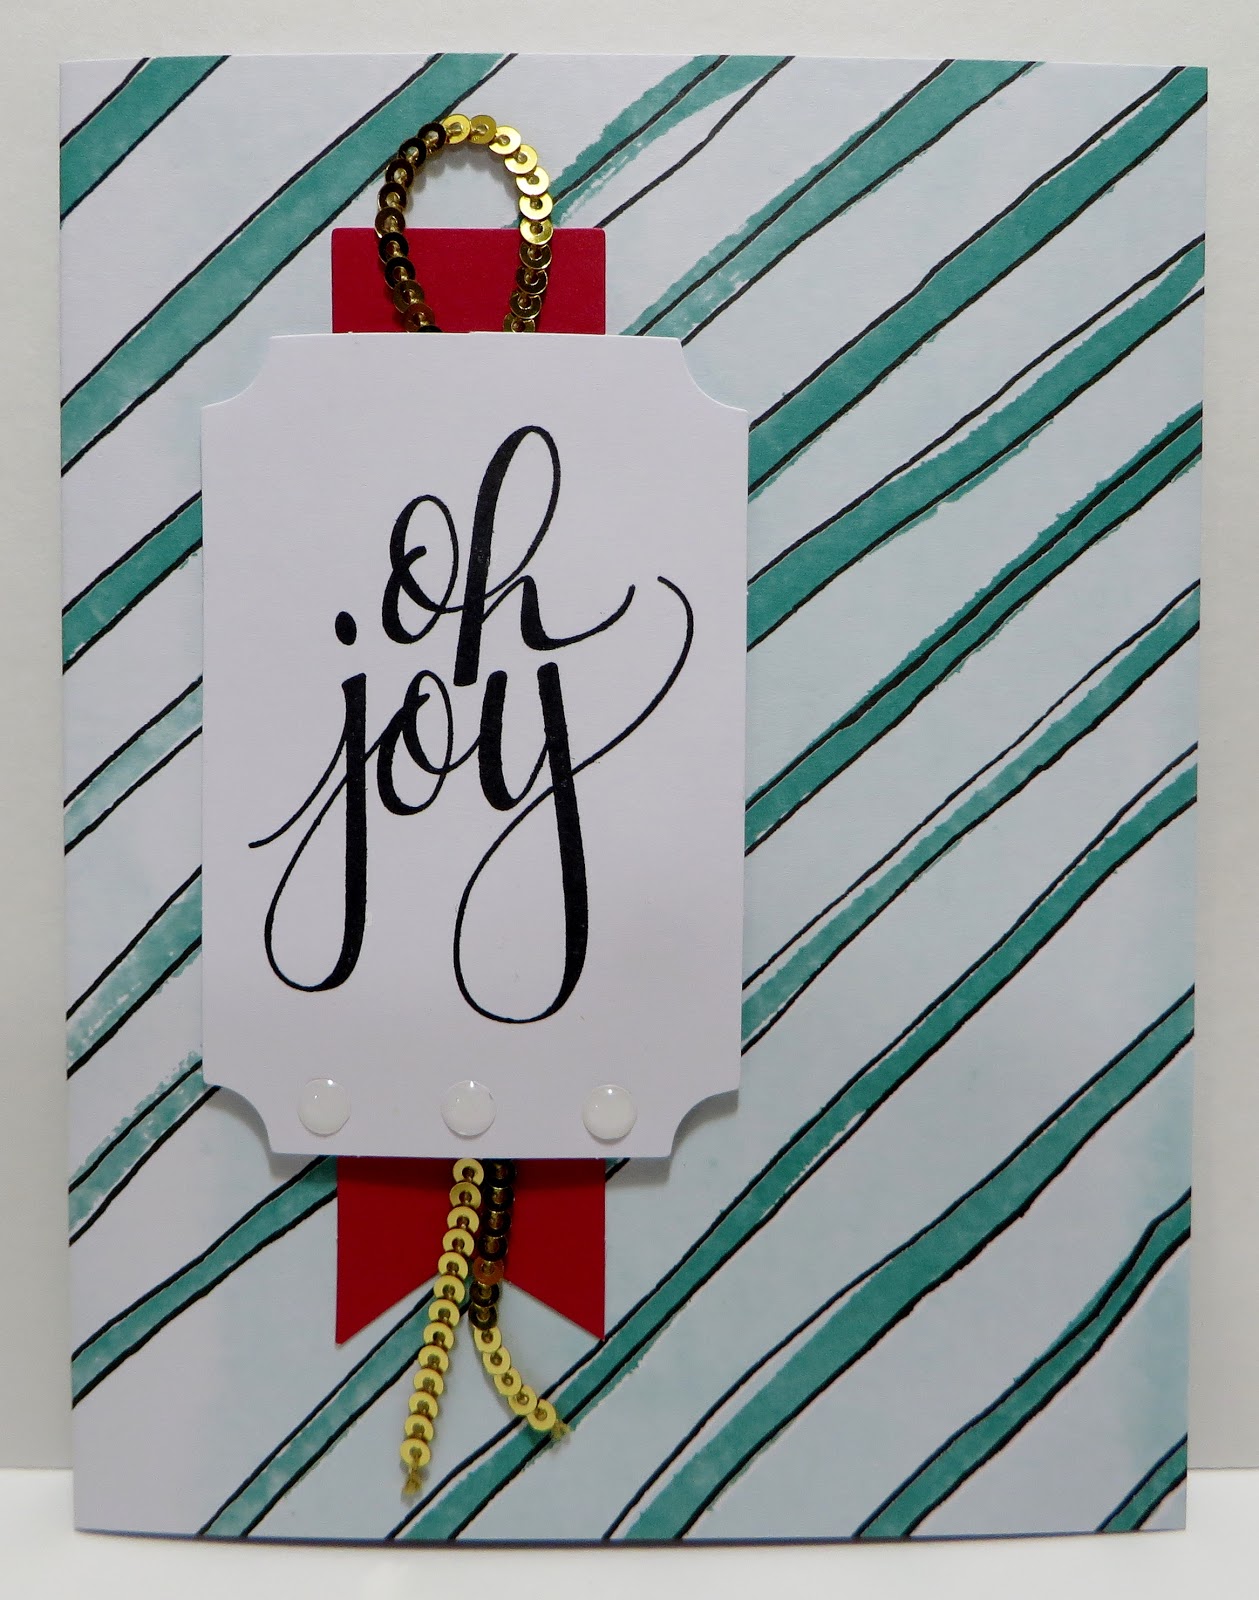

I inserted the Card pictured above in the back of my Acetate Card Box so it shows when looking at the back of the Box.


I inserted the Card pictured above in the front of my Acetate Card Box.


Not only was it fun putting the Watercolor Christmas Kit together; but, it was also fun embellishing the Acetate Card Boxes.

I cut a length of SU's new 7/8" Basic Black with Whisper White Stripes Wired Ribbon, wrapped it around the top of the Acetate Card Box, tied it into a knot and trimmed the ends.


Using SU's Layering Circles Framelits Dies, I die cut the 2-1/4" Scalloped Circle from SU's Real Red Glimmer Paper.

I put a dab of Fine Tip Glue Bottle adhesive in the Center of the Real Red Glimmer Paper Scalloped Circle and adhered one of SU's new Metallic Foil Snowflakes to the Scalloped Circle.  I let this dry.  I love how the Glimmer Paper glistens through the openings of the Snowflake.  You get 24 Snowflakes; 12 Gold and 12 Silver.


Using SU's new Merry Little Labels Stamp Set, I colored the Just For You Stamp as shown in the picture above with my Emerald Envy and Real Red Stampin' Write Markers.  I then huffed with my breath on the stamp, stamped it on Whisper White Cardstock and punched it out with SU's new Everyday Label Punch.  I also punched out 2 more Everyday Labels from Emerald Envy Cardstock.

I adhered the Emerald Envy Labels to the back of my Whisper White Sentiment Everyday Label off-centered with Mono Multi Purpose Glue as shown in the picture above.  (One off-centered to the left and one off-centered to the right.)

I punched a hole in the top of my Label with my 1/8" Handheld Circle Punch.


I cut a length of SU's new Jute Twine and pulled one of the 3 threads out to use at a later date.  I threaded the Jute Twine through the hole in my Label and tied half of a knot.

I threaded on one of SU's new Silver Mini Ornaments and finished off the knot.

I then tied another knot with both ends of the Jute Twine and trimmed the ends.


I was going to leave the Label to swing freely from the Jute Twine; but, I decided to adhere it down with Stampin' Dimensionals.  I centered the Label in the white circle of the First Card inside the Acetate Card Box.  I thought it looked pretty neat with the Holly Leaves from the Card peeking out behind the Snowflake.


I'm off to make more Card Boxes!

That's all I have for today.  Thanks for stopping by my blog.


If you are interested in purchasing Stampin' Up products, you can order from me on-line at www.stampinup.com and please choose me, Lynn Gauthier, as your Demonstrator. 


If you would like to visit my Pinterest Boards, Please click on the link below:
Here


If you would like to become a Paper Pumpkin Subscriber with me, Please click on the link below to sign up.
Here


PLEASE GIVE CREDIT WHERE CREDIT IS DUE!


I recently discovered that people are using my cards and/or projects, duplicating them and entering them into challenges, using them for their own card classes and (using them on their blogs as their own creations) - Please give credit where credit is due.  My cards and projects are my own creations and are not to be used in challenges, blog hops, card classes or sold at craft shows; etc., for profit.  I don't mind if you duplicate my creativity to pass on to family members or friends as gifts or Occasions cards; but,  PLEASE be considerate of others creativity!  Thank you!


Monday, August 28, 2017

Watercolor Christmas Project Kit

I did get to go fishing on Saturday.  Lot's of fish, fun and sun!

It's cloudy out today with sprinkles.  We are to expect thunderstorms this afternoon and tonight.  It looks gloomy out and like a rain forest with everything being so green.

My share for today is Stampin' Up's Watercolor Christmas Project Kit.  Let's take a look:


Stampin' Up's Watercolor Christmas Project Kit is so quick and easy.  It doesn't take long at all to put this kit together.  My Good Friend and Fellow Stampin' Up Demonstrator, Kadie, and I put this kit together yesterday and had BIG fun e-mailing back and forth with each other. 

For this Card, I used Wink of Stella from my personal stash to brush a glittery shine on the Holly Berries.


The Watercolor Christmas Project Kit includes:
20 Card Bases, 5 each of 4 designs
20 Envelopes and Gold Foil Liners
Printed Die Cut Accents and Backgrounds
Gold Mini Sequin Trim


The folded Card sizes are 4-1/4" x 5-1/2".

For this Card, I added 3 White Enamel Dots from my personal stash.


Additional items needed:
Watercolor Christmas Stamp Set
Basic Black Archival Ink Stampin' Pad
Fast Fuse Adhesive
Fine Tip Glue Pen
Stampin' Dimensionals
Stamp-a-ma-jig (optional)
Enamel Dots (optional) *
  *I added Real Red, Emerald Envy and White Enamel Dots from my personal stash.)


I love this Wreath.  For some reason, I always turn a Wreath Card on it's side instead of in the upright position.  Just habit for me I guess.  The Project Kit shows it in the upright position.

I also used my Wink of Stella from my personal stash to brush on the Holly Berries for a glittery shine.

For this Card, I added 3 Real Red Enamel Dots from my personal stash.


The coordinating colors for this Project Kit are Basic Black, Calypso Coral, Emerald Envy, Pool Party and Real Red.


I added Wink of Stella from my personal stash onto the 3 Stars and 3 Stick-like Trees.

I also added 3 Emerald Envy Enamel Dots from my personal stash.


Kadie had a great idea for the inside of the Cards.  Instead of stamping the Sentiment from SU's Watercolor Christmas Stamp Set on the inside the Cards, Kadie used SU's Layering Circles Framelits Dies to die cut out the Sentiment and the background Scalloped Circles from Cardstock.  That sure added another WOW factor to the Cards.


I die cut 4 of my Sentiment Circles from Whisper White Cardstock and 2 each of my Background Scalloped Circles from Real Red and Emerald Envy Cardstock.


I also used SU's Layering Squares Framelits Dies to die cut out 4 of my Sentiment Squares from Whisper White Cardstock and 2 each of the Background Scalloped Squares from Emerald Envy and Real Red Cardstock.


Using the Tree Stamps from SU's Watercolor Christmas Stamp Set, I stamped the Tree Stamps onto my Envelopes with Emerald Envy and Real Red Ink.


I lined my Envelopes with the Gold Foil Liners that are included in the kit.  The Gold Foil sure adds another WOW factor.


That's all I have for today.  Thanks for stopping by my blog.


If you are interested in purchasing Stampin' Up products, you can order from me on-line at www.stampinup.com and please choose me, Lynn Gauthier, as your Demonstrator. 


If you would like to visit my Pinterest Boards, Please click on the link below:
Here


If you would like to become a Paper Pumpkin Subscriber with me, Please click on the link below to sign up.
Here


PLEASE GIVE CREDIT WHERE CREDIT IS DUE!


I recently discovered that people are using my cards and/or projects, duplicating them and entering them into challenges, using them for their own card classes and (using them on their blogs as their own creations) - Please give credit where credit is due.  My cards and projects are my own creations and are not to be used in challenges, blog hops, card classes or sold at craft shows; etc., for profit.  I don't mind if you duplicate my creativity to pass on to family members or friends as gifts or Occasions cards; but,  PLEASE be considerate of others creativity!  Thank you!